Line Level Edit - Checklist for Writers
Develop your Self-Editing Skills and Level-Up your Writing Craft

Learning how to self-edit your writing is an essential step in becoming a professional writer. Once you have developed the basics of self-editing, not only can you bring your written manuscripts up to the level readers expect but your future first drafts become cleaner and much more polished. By developing your internal self-editor, you’ll start the writing process with better first drafts, which will save you time and even money, in the long run.
This blog post is part of the Revision Levels Series. After a review of the three levels of self-editing a manuscript, we will dive deeper into The Line Level Edit — the third and final level of self-editing. I am also offering a free printable Line Edit Checklist. Use the printable as a quick reference guide to keep the skills fresh in your mind as you edit and write.

An editor can help polish your manuscript. Notice I wrote ‘help polish’. The editor will not revise your story for you. A good editor will show you what to fix but it is up to you to do the work and revise your manuscript per the editor’s advice. If you plan to query your manuscript, you do not need to hire an editor. You could study revision techniques shared in craft books, blogs (such as this one), or YouTube videos. I have done all of the above and am very happy to save you time by sharing my favorite resources throughout this blog for your further study.

The best way to develop any kind of new skill is with practice. Once the skill is learned, it will become more natural to you when you are writing the next first draft. Self-editing your writing happens in seperate levels. The three Revision Levels are best approached in this order: Story Level, Scene Level, and Line Level.
Side note: You could find critique partners and beta readers to provide feedback. Two pieces of advice before sending your story to another person for critique: 1. (Repeating for effect) It is up to you to do the work and revise your story. Critiquers will only point out what isn’t working and if you are lucky they will tell you why. 2. Always send the cleanest copy of your manuscript to your readers. It should be line edited first or else the reader will not be able to see the forest through the tangle of trees. This blog is going to cover the line level edit basics that you should follow first before sending your story out for feedback.

Story Level
We start with the big picture edit at the Story Level, making sure the character arc and the plot are solid. This is often known as the developmental edit. This is where we determine if our story is on the correct path and determine a plan of action for the changes needed to fix the overall structure of our storytelling.
Scene Level
Next, we work on editing at the Scene Level, making sure each scene is doing it’s job to move the story forward. Each scene should have a specific purpose so that it keeps the reader turning pages. One of the things you check at the scene level is Pacing or Scene Balance. You can read more about how to check the Scene Balance of a manuscript here.
Line Level
Finally we get to the subject of this blog post — The Line Level Edit. At this level, we will edit our writing on a word-by-word, line-by-line, and paragraph-by-paragraph level. It is a long process but in the end, is the key to reader enjoyment. You do not want your reader tripping over awkward sentences and unnecessary words because once they see that their journey through a story is full of tangles and roots, they will stop reading. The Line Level Edit is where you ensure that sentences flow and your story is refined.

How To Use This Checklist
Each item on the checklist should be address seperately as its own editing task. I would start at the top and move down the checklist. Learn how to fix a specific item by studying what to look for and then go through your manuscript making the edits. Practice improving each item on the checklist seperately first and then later some items can be combined after you have trained yourself on spotting the edits.
1. Infodumping
Information dumping. This is probably the number one tell of a novice writer.
If you ever received feedback that described your story as ‘too telling’, there is unnecessary backstory, or you are trying to cram a lot info that you think needs to be in the first act, you are overloading the story with too much information.
Remember this: Readers prefer a little mystery.
The mark of a Master Storyteller is knowing exactly what pieces of information to reveal and what to withhold. Know which clues to provide and which clues the reader can fill in on their own. This invites the reader into the story as an active participant, to write the story in their own imaginations alongside you. Give the reader the pieces of the story but let them put the pieces together on their own. (Give them 2 + 2, then let them solve the equation.) If you can resist the urge to explain everything to the reader, you will level up your storytelling.
2. Filtering character experience
When you do such things as name what the character feels or what they sense, you as the writer are acting as a filter between the reader and the characters. If you have ever received feedback that said ‘Show, Don’t Tell’, then your writing was filtering what the character was experiencing through an invisible narrator instead of creating intimacy between the character and reader. To learn more about the words to look for in your manuscript which indicate a filtered experience (Filter words/ Telling words/ Passive words), read this blog Tightened Prose - Checklist for Writers.
If you would like your readers to live your stories and not merely read them, I highly recommend studying Deep Point of View writing techniques. Mastering Deep POV writing will virtually eliminate Show, Dont’ Tell issues in your manuscripts. The best resource for this is a small but mighty craft book called: Rivet Your Readers With Deep Point Of View by Jill Elizabeth Nelson.

You can use this Amazon link to get your copy of this book.
3. Crutch words
Much like the crutch I used to prop myself up with when I broke my foot, a crutch word is one that is overly leaned on or overused in your storytelling. One of the best ways to find the crutch words in your writing is to listen to your story being read aloud to you. Listen to your story and these words will make themselves known.
Some common crutch words are adverbs like: totally, probably, and truly. Other crutch words might be the overuse of words like: well, but, however, so, you know, um, huh and so on. Find a complete checklist of words here.
Bonus Tip: Have your story read to you for free. The Google Docs App (I use this on an iPhone or iPad) has a built in ‘Speak’ feature. Select all of the text in one chapter. A pop-up will appear with the standard edit features (such as cut, copy, paste). Select ‘Speak’ in this menu. Sit back (or do chores or run errands) and enjoy your story.
4. Echo words
Leave all the echoing to the parrots and the spooky caves. Echo words are most often a noun (or a verb) that is the subject of a paragraph or page which gets repeated over and over in the text. Echo words can be sneaky but a good critique partner will catch the ones you miss.
You might be thinking that if a dog is the subject of a paragraph that it is fine to include the word dog in the text four to five times. I challenge you to cut the number of times you use the word dog (or whichever overused/echo word is repeating) down to once in the paragraph. If you do not, the reader will have the word dog echoing around in their head and it will be a distraction from the essential point of the text. (See what I mean?)

The Hemingway Editor is a favorite free Writer Resource.
Never fear! A good thesaurus is near! Even in this blogpost I use a variety of synonyms for the word ‘story’. For example: your writing, manuscript, text, words, chapter, storytelling, and so on. In our example above you could replace the word dog (and provide loads of variety to your story) with words like: Rover, canine, pooch, hound, or flea-bitten mongrel. (Which to me sounds more exciting than the echoing dog.)
5. Adverb abuse
The king of horror novels, Stephen King, has famously said, “I believe the road to Hell is paved with adverbs, and I will shout it from the rooftops.” Mark Twain said, “I am dead to adverbs; they can not excite me.” Are you getting the picture?
The fix here is to select stronger verbs. You will have to do a basic search for common adverbs in your manuscript, then replace them with better verbs. Example: Instead of ‘walked quietly’, write ‘tiptoed’. Instead of ‘burn brightly’, write ‘blazed’. Enough said.
I get a lot of use out of this small but handy resource: 1,000 Strong Verbs: For Fiction Writers by Valerie Howard. I highly recommend her entire writer resource collection.

You can use this Amazon link to get your copy of this book.
6. Overwritten Prose
You want your reader to get lost in your story and have a connection to it in a way that they can feel but can not quite explain. Write your stories like a master magician. Give the reader magic but don’t explain the trick. If you overwrite, the reader will know everything and once that happens, the magic is lost.
Some places to check for overwritten prose:
character internalization that takes us out of the action
long-winded character monologues
excessive description of setting and appearances
nano-second by nano-second action sequences
7. Adjective abuse
Some adjectives are fine. Use too many and the story begins to read like a 4th grader’s essay. (I was once a 4th grader, so I know.)

The fix here is to choose a more descriptive noun, using one word to do the work of two. To reduce your use of adjectives, you can search your document (I mention a couple of useful tools to help search for free below) and make the changes. Examples: Old car changes to clunker. Tall hair changes to bouffant. Et cetera.
8. Messy dialogue tags
Make said your default dialogue tag. Said is one of those words that disappears on the page. Dialogue quickens the pace of the story. The reader gives full attention to what is said and who is saying it.
Occasionally, it can add a lot to a scene to replace the standard ‘said’ tag with an action tag. Caution to not go overboard with this tactic.
Messy dialogue can ruin a otherwise well-plotted story with great characters. So one of the fastest ways to improve your writing is to learn to write dialogue that is exciting. My favorite resource to recommend for improving this area of your writing is How to Write Dazzling Dialogue: The Fastest Way to Improve Any Maunscript by James Scott Bell.
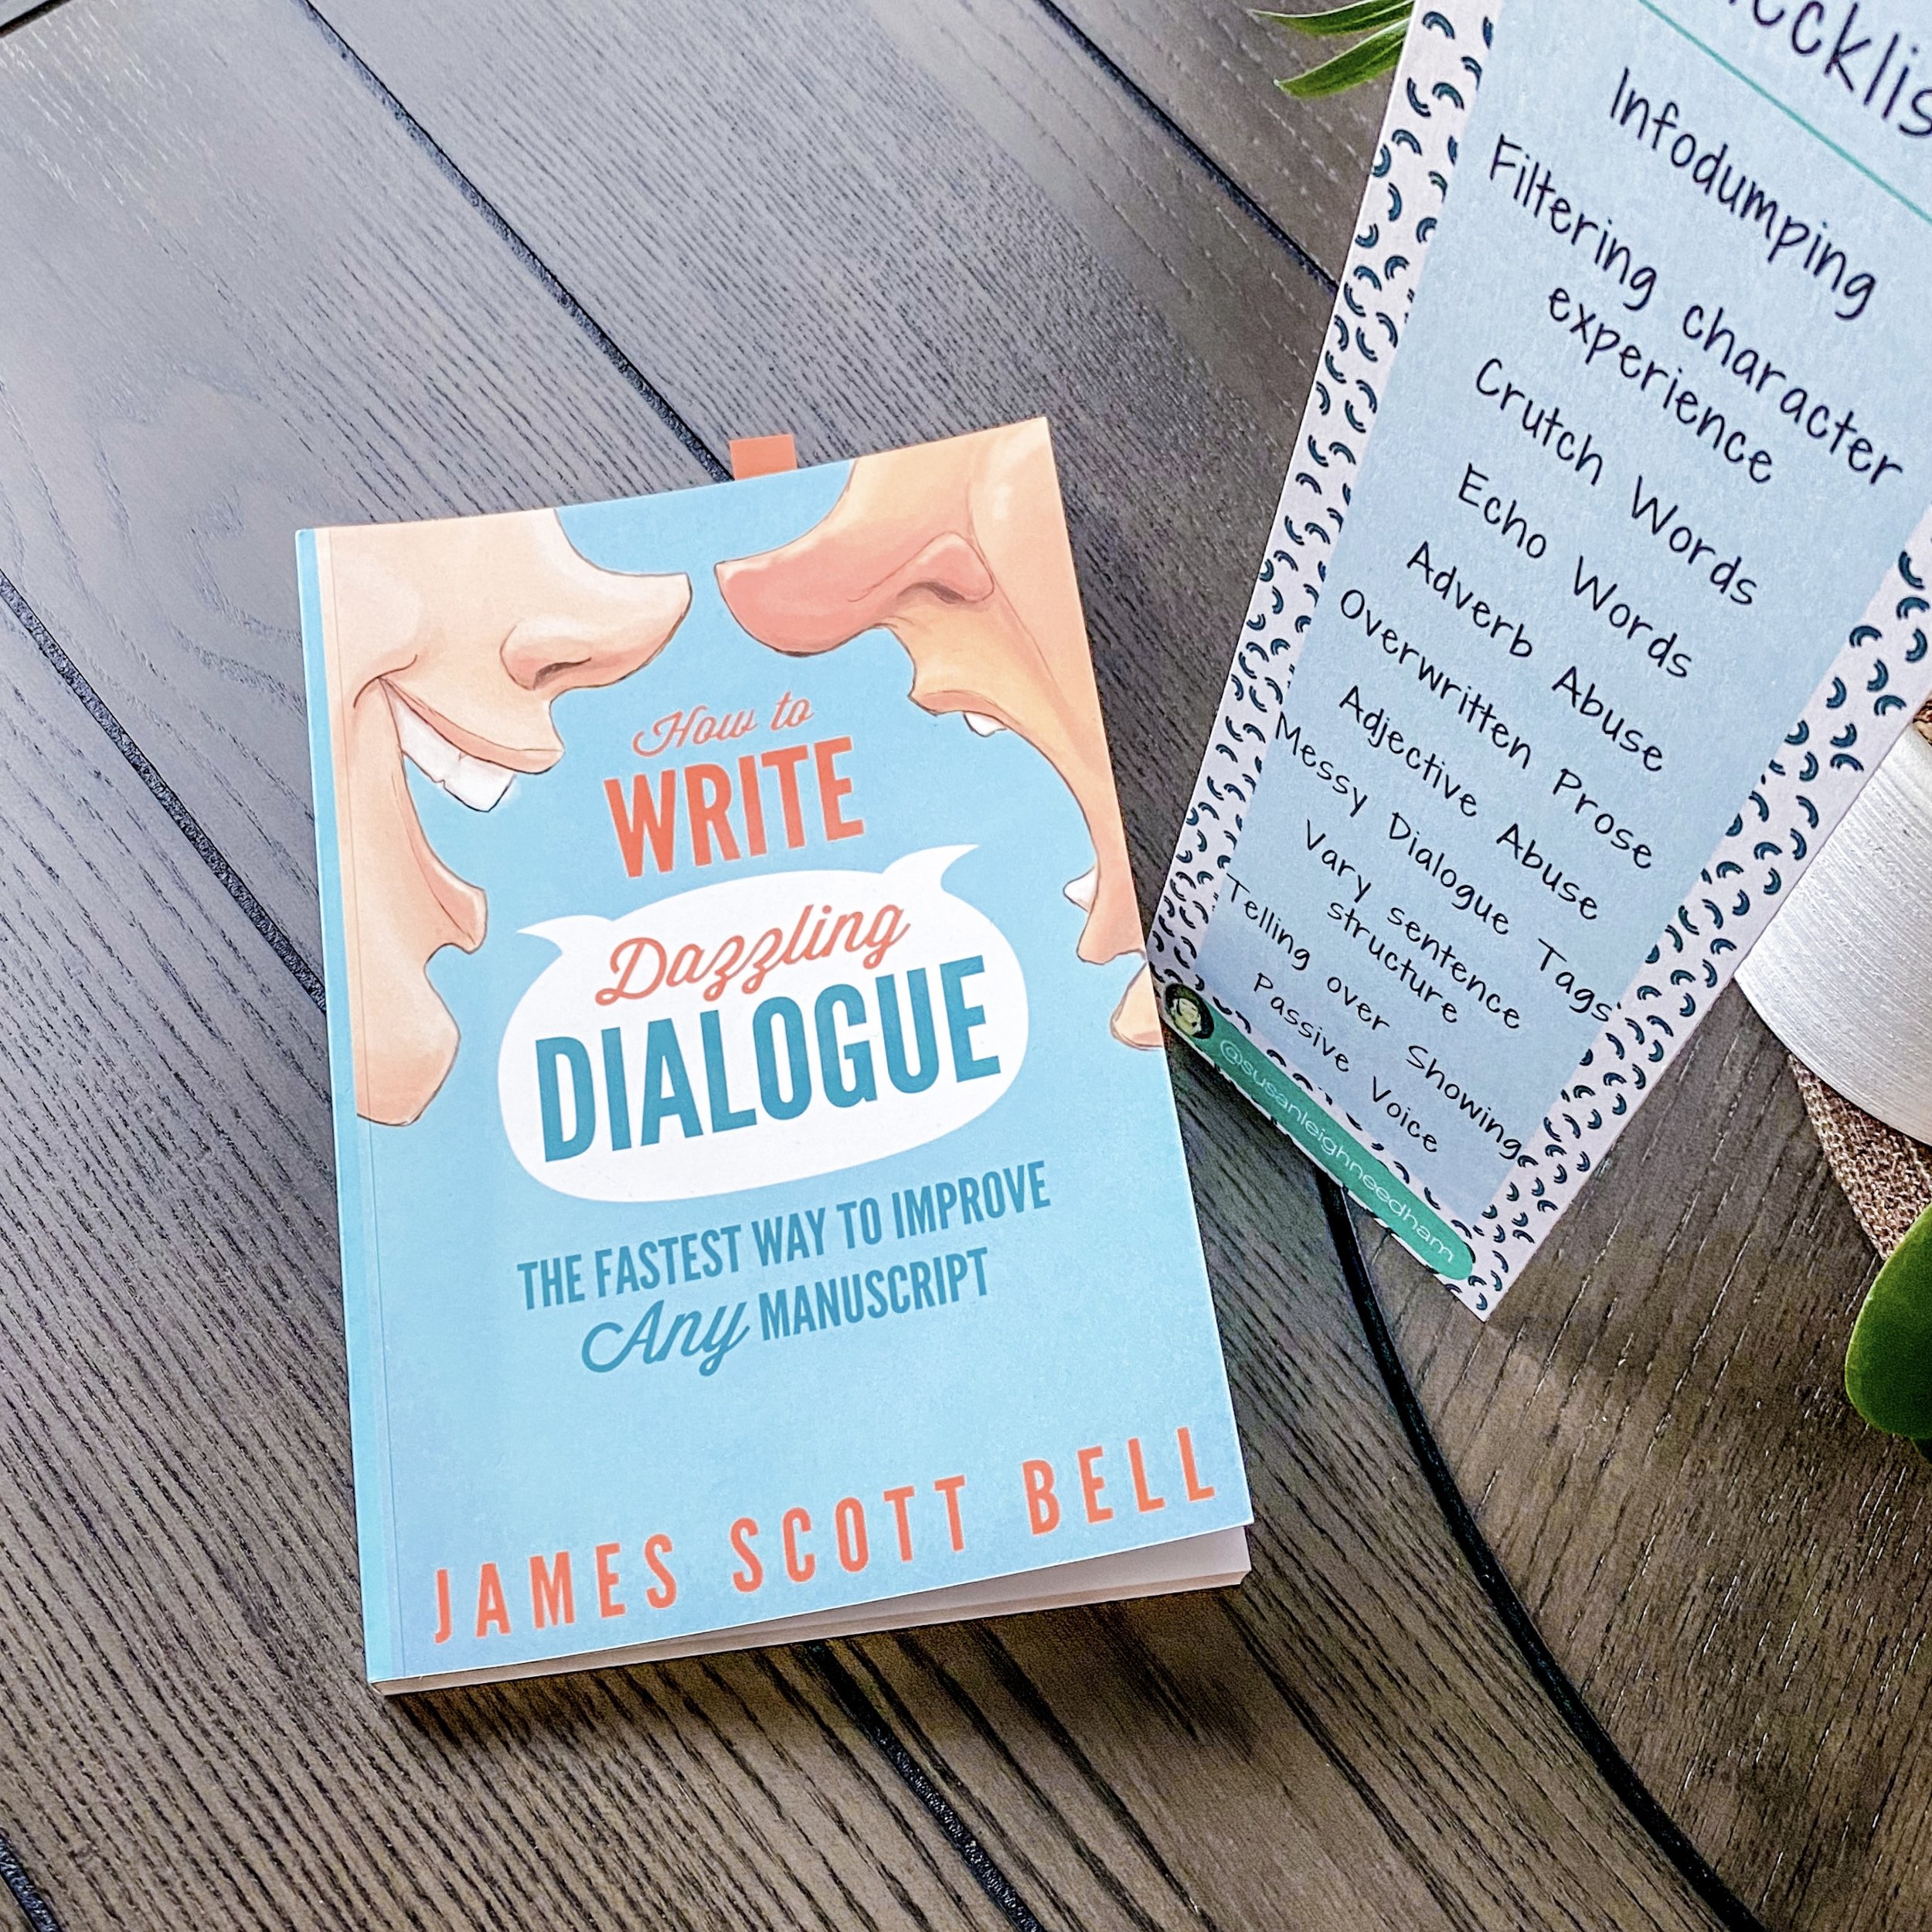
You can use this Amazon link to get your copy of this book.
9. Vary sentence structure
Why is it more fun to watch an obstacle course competition than it is to watch runners compete in a 100m hurdles race? Because variety is the spice of life. Same old, same old is dull.
When you get to the point in your revision that you are working on varying the sentence structure of your story, you become the artist creating a picture with the words and the blank spaces on the page. Don’t skip this step. It seems simple but very important in creating masterpieces.
10. Show, Don’t Tell & 11. Passive Voice
Both Show, Don’t Tell and Passive Voice are very similar to # 2 on this list. Writing like this is Filtering the Character Experience. I go over both of these in detail in the blog Tightened Prose. I highly encourage you to check them out to improve your line editing and even find your voice. You can find that blog post (and a complete checklist of weak words to cut from your writing) here.

Other Suggested Tools/Resources:
Hemingway Editor - (pictured above) You can paste text in either the app or desktop version to be analyzed for adverbs, passive voice, complicated phrases, and hard to read sentences. It is free to use and you can check it out here.
Text Inspector - Works much like Hemingway, where you insert short text for a free analysis. This can tell you the readability score of your text and has a Tagger feature to help you find parts of speech, like adjectives. Check it out here.
Clean First Drafts
After you have practiced line editing your manuscript, you will begin to notice a change in the way you write. You will start to create first drafts without clucky sentences full of words that need cutting.
If you are like me, a visual reminder in my writing space can assist with keeping these types of line edits fresh in your mind. After you save this post, I also recommend printing my Line Edit Checklist. It’s a free PDF download the size of a bookmark. I print this on cardstock paper. I find that this bookmark size is perfect to tack up near my computer monitor, which keeps the list right in my line of sight and fresh in my mind.
Let’s connect!
Subscribe to my Newsletter Here - for the latest Instagram updates, tips, and strategies to help all writers shine on social media. I have much to share with you.
Leave me a comment and tell me what you would add to this list. Let me know if you have tried any of the resources on the list.
If you want to get social, come find me at all the links below. Enjoy your writing time!❤️
This page contains affiliate links. If you purchase a book through this page, I get a small commission at no extra cost to you. I’d never promote something I didn’t love.
Follow Susan:


-
2024
- Dec 8, 2024 Writing Dialogue - Prompt Palooza
- Dec 6, 2024 Writing Advice for New Writers
- Nov 29, 2024 How to Upgrade Your Writing
- Nov 25, 2024 Why Your Writing Routine Feels Slow and How to Fix It
- Jan 10, 2024 Daily Themes For Your Instagram Content
- Jan 3, 2024 Writer Friends Challenge
-
2023
- Nov 15, 2023 A Writer’s Guide to Instagram Stories
- May 15, 2023 Tough Love Advice for New Writers
- Feb 14, 2023 Build a Strong Writing Community
- Jan 12, 2023 Boost Your Instagram Reach
-
2022
- Dec 14, 2022 A Writer’s Treasure Box
- Nov 13, 2022 Scene Level Edit - Checklist for Writers
- Oct 10, 2022 Instagram Growth
- Sep 12, 2022 The Secret Instagram Strategy
- Aug 15, 2022 Line Level Edit - Checklist for Writers
- Jul 15, 2022 Tightened Prose - Checklists for Writers
- May 15, 2022 A Complete Guide To Being A More Productive Writer
- Mar 13, 2022 20 Writing Prompts
-
2021
- Jun 16, 2021 Scene Balance
- May 21, 2021 Lessons From Almost-Land or How to be Your Own Writing Mentor
- May 3, 2021 12 Quick Tips for Writing Interesting Characters
- Mar 1, 2021 Writer Friends Challenge (March)
- Feb 15, 2021 Writerly Advice - Pacing
- Jan 20, 2021 20 ‘What If’ Writing Prompts To Grow Your Imagination
- Jan 4, 2021 MGWAVES
-
2020
- Dec 13, 2020 Writer Joy - Guest Post
- Dec 9, 2020 Christmas Reading Traditions With Guest Writer Jennifer Mattern
- Aug 24, 2020 Writerly Advice - Plotting
- Jul 27, 2020 Writerly Advice - Staying Motivated
- Jul 13, 2020 Writerly Advice - Navigating Storms
- Jun 22, 2020 Writerly Advice - Core Conflict
- May 11, 2020 Revise and Resub - Should you do it?